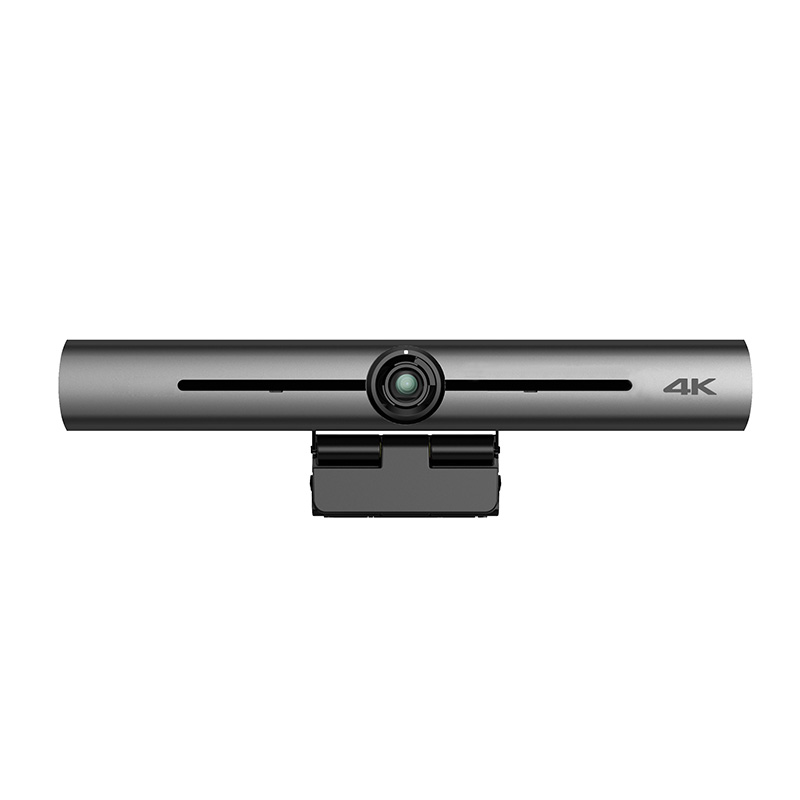
With the continuous development of society, the improvement of people's economic level, and the continuous development of science and technology, in the past, basically every household would not be equipped with a camera. Nowadays, many residents also install web cameras in their homes. Let’s talk about it today. What is the webcam installation tutorial? I hope it can help you all.
Webcam installation tutorial
1. First of all, after we get the camera, install the hardware first. The installation of the hardware needs to be connected through the network, and connect it to the camera connection port.
2. After connection, we plug in the power supply to power on.
3. After powering on, connect the other port of the camera to the router. After completing this, basically the hardware part of the webcam is installed, and then we need to install the software part of the webcam.
4. When installing the camera software, you need to search for the camera. After the search is completed, pairing is performed, and the web camera is accessed after the pairing. Then, install the camera plug-in and install the software part to complete the installation.
5. Next, what we have to do is to process the wiring, determine the location of the positioning point and the switch. The location of the switch should generally be selected in the weak current room. If it is really inconvenient to choose the weak current room, you can set up a weak current room by yourself. Cabinet.
6. The cables of the network cameras are basically dedicated. When wiring the outdoor network cables, it is best to seek professional help.
7. After these hardware, software and lines are connected, follow the instructions to see if there are any extra parts. If all are used or only one or two spares are left, it means that the webcam has been installed successfully.
The above is a summary of the relevant content and information about the webcam installation tutorial for everyone, I hope it can be helpful to everyone.
